You want a blog that is fully customizable and is sick of WordPress mess and insecurity? One solution is to use Jekyll to build a blog where all posts are in markdown format, is hosted in github and I can edit using a browser with prose.io.
Summary of benefits:
- No database, only Markdown files
- Hosted for free by GitHub Pages
- Version controlled
- In browser rich editor with Prose.io
- Highly customizable and themeable
- Cool factor
Step 1: Forking from another blog
The easiest way to do is to fork a jekyll theme in your GitHub account. Best ones I could find are:
- Notepad - used by this very blog
- Clean Blog theme by Start Bootstrap
- More themes in http://jekyllthemes.org/
This tutorial will install and customize the Notepad theme, but instructions should be similar for other themes
After forking, click on Settings:
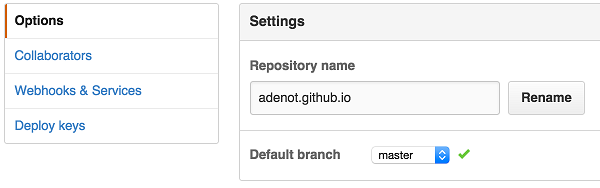
- Rename your forked repository to yourusername.github.io, that’s the way to tell GitHub Pages to build your repository into a website.
- Set the Default branch to master, unless described otherwise by theme developer.
Some theme repositories use gh-pages as the default branch and others use master. You must check in the theme docs which one is correct. For Notepad is master.
Step 2: Preparing your environment
Requirements are: Ruby, Gem and GIT. From there you can install jekyll by running:
gem install jekyll
Optionally you can create a blank site, by following jekyll documentation, but that’s not the method we will describe in this post.
Step 3: Cloning your repository
If you forked correctly, you will have a repository on github.com/yourusername/yourusername.github.io
It’s not necessary to clone the repository, but depending how much you will need to customize, it’s much easier to do from your local filesystem. Also, some themes (such as Notepad) ships with a lot of unecessary files that you need to cleanup. This will be described in the Customize section below.
Cloning it in your dev machine:
git clone git@github.com:adenot/adenot.github.io.git
cd adenot.github.io
replace adenot with your github username
Now run your blog locally with:
jekyll serve
If all goes right, you should see the following page:
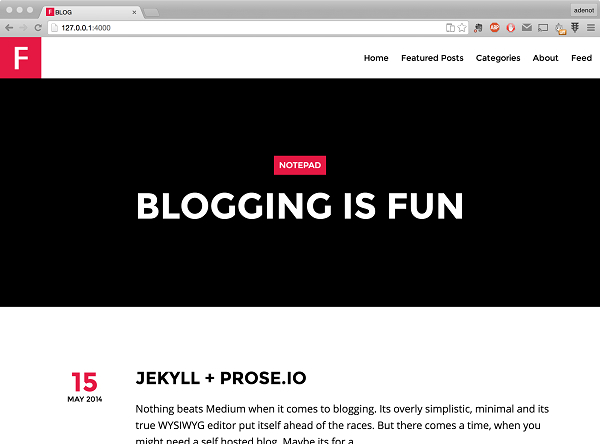
Your blogging platform is now running. Let’s learn how to edit posts and customize it.
Editing with Prose.io
Prose.io is basically an in browser markdown editor connected to GitHub. To setup:
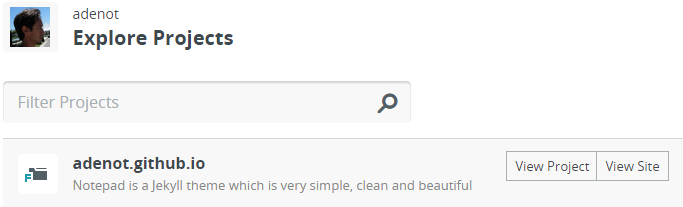
- Go to prose.io
- Authorize
- Select the project
If the file _custom.yml is configured correctly, you will only see the files inside _posts folder. Otherwise, just browse to the _posts folder, there should be some examples there.
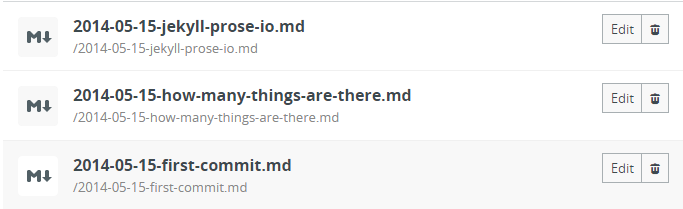
Simply click Edit and the markdown file will be open for editing. Saving from prose.io will modify your github repository so there’s no need to locally clone the repository after everything is setup.
Customizing your blog
That’s when we will need the cloned repository in your dev machine.
Config file
Edit the file _config.yml.
That’s the boring part, you will need to check item by item and replace with the information you want for your blog.
Protip: You can also have an item called prose with information that prose.io will use to help you edit your posts. Notepad theme has done this greatly, as you can see in their original _config.yml file. More information can be found on Prose.io Getting Started page.
If for some reason GitHub fails to build Jekyll, it will send an email to you informing that. So check your email if your page are not being updated after you pushed changes. —
HTML/CSS
Locations for customizing HTML/CSS:
- _layouts/*.html - page layouts
- _includes/*.html - page exerpts used in the layout
- assets/css/style.css - add your custom CSS here
Cleaning up
If you are using Notepad theme, you will notice there are 2 branches: gh-pages and master. Unless you are using GitHub Pages for a project page, I recommend removing the gh-pages branch, it can be done by running:
git push origin :gh-pages # deletes remote branch gh-pages
Again for Notepad theme, you can safely delete images from the images folder, and replace the logo.png with your own.